
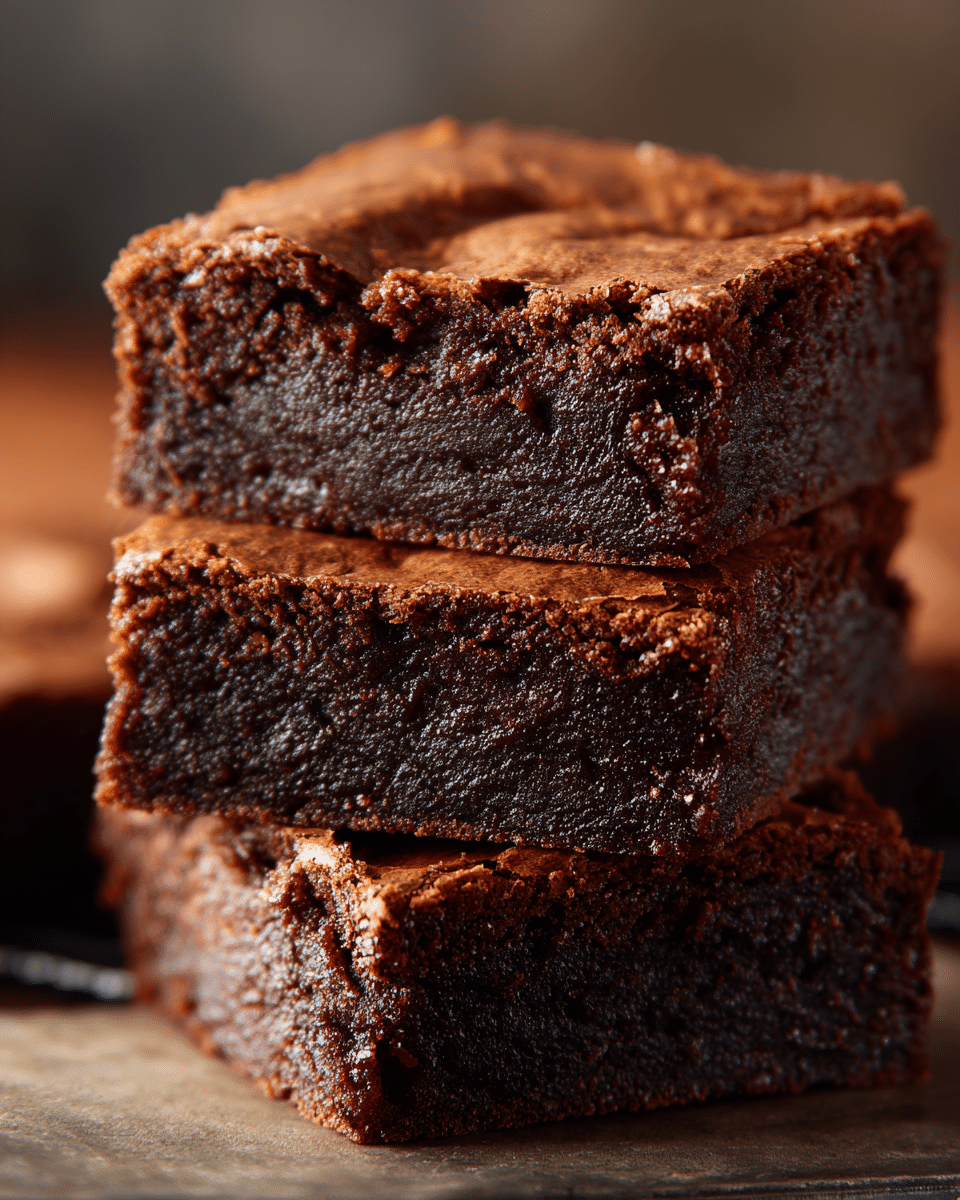
If you love chewy desserts and rich chocolate flavor, you’re going to be obsessed with these Mochi Brownies. They combine the fudginess of traditional brownies with the signature bounce of mochi, resulting in a unique, chewy-chocolate hybrid that’s naturally gluten-free and irresistibly satisfying. With crisp edges, a soft center, and that signature mochi stretch, these brownies are the perfect treat for adventurous bakers and mochi lovers alike.
Mochi brownies are a fusion dessert rooted in Hawaiian and Japanese-American kitchens, where mochiko flour (glutinous rice flour) meets classic brownie ingredients. Instead of the traditional crumbly or cakey brownie texture, mochi brownies are soft, chewy, and delightfully stretchy—like a brownie and a piece of mochi had a delicious baby.
This dessert takes the bold chocolate flavor of a brownie and pairs it with the springy, sticky chew of rice-based mochi, making it naturally gluten-free and ideal for potlucks, tea time, or a unique twist on classic dessert trays.
Whether you’ve never tried mochiko flour before or you’re already a fan of Hawaiian butter mochi, this recipe is an easy, no-fail introduction to chewy chocolate bliss.
Ingredients Overview

Each ingredient plays a specific role in achieving the signature texture and flavor of mochi brownies. Here’s what you’ll need:
Mochiko (Sweet Rice Flour)
This is the key to the chewy texture. Mochiko is a glutinous rice flour (despite the name, it’s gluten-free). It creates the stretchy, elastic bite that sets mochi brownies apart from traditional ones.
Cocoa Powder
Provides the rich chocolate flavor. Dutch-processed cocoa powder will give you a smoother, darker brownie, while natural cocoa adds brightness and a bit of tang.
Sugar
Granulated sugar sweetens the batter and balances the earthy notes of the rice flour.
Butter
Melted butter gives moisture, richness, and enhances the fudgy quality of the brownies.
Eggs
Eggs bind the batter together and provide structure without making the brownies too cakey.
Milk or Coconut Milk
Milk loosens the batter and adds richness. Coconut milk (especially full-fat) is a popular variation for added flavor and moisture.
Vanilla Extract
Balances the chocolate with a warm, floral background.
Salt
Essential to bring out the flavor of both the chocolate and the mochi.
Optional Chocolate Chips
For bursts of gooey chocolate in every bite.
Step-by-Step Instructions
These mochi brownies come together in one bowl—no mixer needed—and bake into a chewy, brownie-style sheet that you can cut into squares or rectangles.
1. Preheat and Prep
Preheat your oven to 350°F (175°C). Grease or line an 8×8-inch square baking pan with parchment paper.
2. Melt the Butter
In a large microwave-safe bowl, melt ½ cup (113g) unsalted butter. Let it cool slightly.
3. Mix Wet Ingredients
Whisk into the melted butter:
-
1 cup granulated sugar
-
2 large eggs
-
1 tsp vanilla extract
-
1 cup whole milk (or canned full-fat coconut milk)
Whisk until smooth.
4. Add Dry Ingredients
Sift in:
-
¾ cup mochiko (sweet rice flour)
-
½ cup unsweetened cocoa powder
-
½ tsp salt
Whisk until completely smooth. The batter will be looser than traditional brownie batter—more like thick pancake batter.
5. Add Chocolate Chips (Optional)
Fold in ½ cup chocolate chips or chunks for an extra gooey bite.
6. Bake
Pour the batter into the prepared pan and smooth the top. Bake for 40–45 minutes, or until the top is firm and a toothpick inserted in the center comes out mostly clean with a few moist crumbs.
7. Cool and Slice
Let the brownies cool completely in the pan before slicing. The mochi texture continues to set as they cool. Use a sharp, lightly greased knife to cut into squares or rectangles.
Tips, Variations, and Substitutions
Tips for Perfect Mochi Brownies
-
Use mochiko, not regular rice flour: Only sweet rice flour will give you the mochi chew.
-
Don’t overbake: The center should be set but still have bounce when lightly touched.
-
Cool completely: Mochi brownies firm up as they cool—slicing too early will result in stickiness.
Flavor Variations
-
Matcha Mochi Brownies: Replace 1 tbsp cocoa with 1 tbsp matcha for a green tea twist.
-
Coconut Mochi Brownies: Use full-fat coconut milk and sprinkle shredded coconut on top before baking.
-
Peanut Butter Swirl: Drop dollops of peanut butter and swirl before baking.
-
Salted Caramel Topping: Drizzle caramel sauce over cooled brownies and sprinkle with sea salt.
Substitutions
-
Coconut Oil: Replace butter with melted coconut oil for a dairy-free version.
-
Almond Milk: Works well in place of dairy milk, though the texture may be slightly firmer.
-
Coconut Sugar: For a more natural sweetener, substitute granulated sugar 1:1 with coconut sugar.
Serving Ideas & Occasions
These brownies are unique and versatile—perfect for when you want to impress with something a little different.
-
Tea or Coffee Pairing: Their chewy texture pairs wonderfully with warm drinks.
-
Dessert Platters: Adds a standout item among cookies and bars.
-
Cultural Celebrations: Great for Lunar New Year, Japanese festivals, or Hawaiian-themed events.
-
Gluten-Free Treat Boxes: Naturally GF and easy to package for gifting.
They’re also a great conversation starter—many people have never had chewy, mochi-style brownies before!
Nutritional & Health Notes
These brownies are decadent, but they offer a few thoughtful benefits:
-
Gluten-Free: Made with mochiko, no wheat flour required.
-
Lower in Flour: Mochiko is used in a smaller quantity, resulting in fewer carbs compared to flour-heavy brownies.
-
Dairy-Free Option: Easily adapted with coconut milk and oil.
-
Portion Friendly: Their richness and chew make smaller servings just as satisfying.
Store in an airtight container at room temperature for up to 2 days, or refrigerate for up to 5. For longer storage, freeze for up to 1 month.
Frequently Asked Questions
1. What is mochiko, and where can I find it?
Mochiko is sweet rice flour made from glutinous rice. It’s naturally gluten-free and commonly used in Japanese and Hawaiian desserts. Look for it in Asian grocery stores or online under brands like Koda Farms.
2. Are mochi brownies gluten-free?
Yes! Mochiko flour contains no gluten. Always check labels for cross-contamination if you’re baking for someone with celiac disease.
3. Can I make mochi brownies dairy-free?
Definitely. Use full-fat canned coconut milk instead of dairy milk and substitute butter with melted coconut oil.
4. Why are my brownies too soft or gooey?
They may be underbaked. Make sure the top is set and a toothpick comes out with moist crumbs—not wet batter. Also, let them cool fully before slicing.
5. What’s the best way to cut mochi brownies?
Use a very sharp knife, and grease the blade lightly with oil or cooking spray. This helps prevent sticking and gives clean slices.
6. Can I double this recipe?
Yes! Use a 9×13-inch pan and bake for 50–55 minutes. Test for doneness and allow extra cooling time.
7. Can I add toppings to mochi brownies?
Absolutely. Try chocolate chunks, chopped nuts, shredded coconut, or a drizzle of white chocolate once they’re cooled.
Tasty Recipes Card
Description:
Chewy, rich mochi brownies made with sweet rice flour and cocoa powder. A fudgy, gluten-free twist on the classic brownie, with a signature bounce and deep chocolate flavor.
Ingredients:
-
½ cup (113g) unsalted butter, melted
-
1 cup granulated sugar
-
2 large eggs
-
1 tsp vanilla extract
-
1 cup whole milk or full-fat coconut milk
-
¾ cup mochiko (sweet rice flour)
-
½ cup unsweetened cocoa powder
-
½ tsp salt
-
½ cup chocolate chips or chunks (optional)
Instructions:
-
Preheat oven to 350°F (175°C). Grease or line an 8×8-inch pan.
-
Melt butter and whisk in sugar. Add eggs, vanilla, and milk. Whisk until smooth.
-
Sift in mochiko, cocoa powder, and salt. Whisk to combine.
-
Fold in chocolate chips if using.
-
Pour into prepared pan. Bake 40–45 minutes, or until top is set and toothpick comes out with moist crumbs.
-
Cool completely before slicing with a greased knife.
Notes:
-
For coconut flavor, use canned coconut milk and top with shredded coconut.
-
Store in airtight container for up to 5 days.
-
Freezes well—wrap individually for a chewy chocolate fix anytime.
Details:
Prep Time: 15 minutes
Cook Time: 45 minutes
Total Time: 1 hour
Yield: 16 squares