
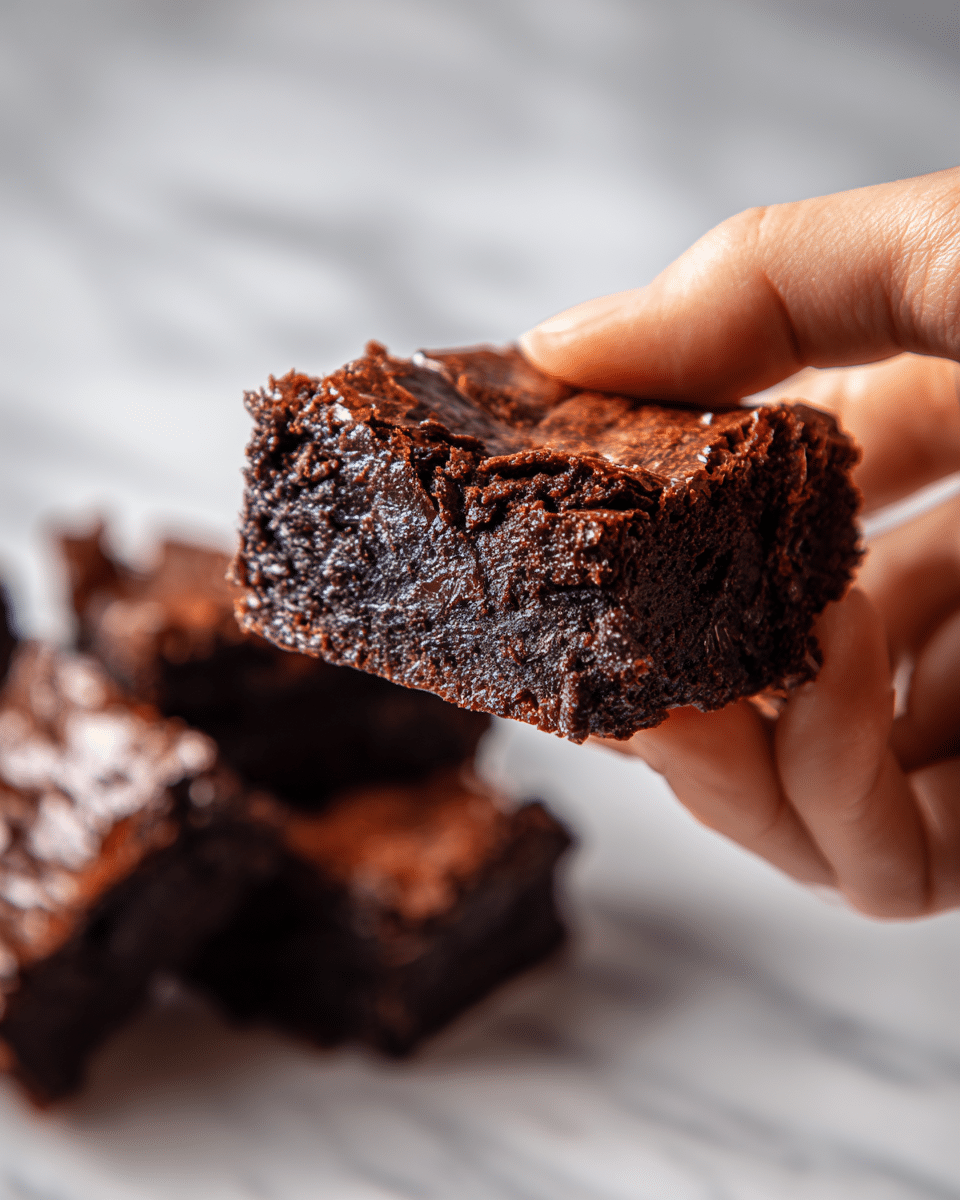
If you’re craving something chocolatey, chewy, and just a little different, Mochi Brownies are about to become your new obsession. These delightful squares combine the rich, deep flavor of classic brownies with the stretchy, satisfying chew of mochi — a dessert beloved across Hawaii and East Asia.
Made with glutinous rice flour (also called mochiko), these brownies are naturally gluten-free and have a texture unlike anything else. Imagine a brownie with a thin crackly top, a fudgy chocolate base, and a pleasantly bouncy bite that keeps you going back for more.
Whether you’re new to mochi desserts or already a butter mochi fan, this chocolate version blends East and West into a luscious, unforgettable treat. Perfect for potlucks, holiday tables, or anytime you’re craving something a little outside the box — but still deeply indulgent.
Ingredients Overview
Each component of mochi brownies serves a specific purpose, balancing richness, chewiness, and depth of flavor.
Key Ingredients
-
Glutinous Rice Flour (Mochiko): This is what gives the brownies their signature chewy texture. Despite the name, it’s gluten-free and should not be substituted with regular rice flour.
-
Coconut Milk: Adds moisture, richness, and a subtle tropical note that pairs beautifully with chocolate. Use full-fat canned coconut milk for best results.
-
Eggs: Help bind the batter and give structure, while also contributing to the fudgy interior.
-
Granulated Sugar: Sweetens the batter and helps achieve that shiny brownie top.
-
Unsweetened Cocoa Powder: The base for the chocolate flavor — Dutch-process gives a richer color, while natural cocoa offers a slightly fruitier note.
-
Butter: Adds richness and helps with mouthfeel. Melted butter blends easily into the mochiko-based batter.
-
Vanilla Extract: Balances the cocoa and enhances the overall flavor.
-
Salt: Brings out the chocolate and offsets sweetness.
Optional Add-Ins
-
Chocolate Chips or Chopped Dark Chocolate: Stirred into the batter for gooey chocolate bursts.
-
Espresso Powder: Deepens the chocolate flavor without tasting like coffee.
-
Shredded Coconut: For added texture and a nod to traditional Hawaiian butter mochi.
Ingredient Swaps
-
Non-Dairy Option: Use vegan butter and a plant-based milk (oat or almond) in place of dairy ingredients.
-
Low Sugar: Use ¾ cup sugar instead of 1 cup for a less sweet version. Coconut sugar also works.
-
Flavored Mochi Brownies: Try adding matcha powder with white chocolate chips, or peanut butter swirls for a fun fusion.
Step-by-Step Instructions
Step 1: Preheat and Prep
Preheat your oven to 350°F (175°C). Line a 9×9-inch pan with parchment paper and lightly grease it. Mochi is sticky — don’t skip the parchment.
Step 2: Melt the Butter and Mix Wet Ingredients
In a medium saucepan or microwave-safe bowl, melt ½ cup unsalted butter. Let it cool slightly, then whisk in:
-
1 can (13.5 oz) full-fat coconut milk
-
1 tsp vanilla extract
-
3 large eggs
Whisk until fully smooth and combined.
Step 3: Mix Dry Ingredients
In a large mixing bowl, combine:
-
1½ cups mochiko (sweet rice flour)
-
¾ cup unsweetened cocoa powder
-
1 cup granulated sugar
-
½ tsp salt
-
½ tsp espresso powder (optional)
Stir to combine thoroughly and break up any clumps.
Step 4: Combine Wet and Dry
Pour the wet mixture into the dry ingredients and stir until smooth. The batter will be glossy, slightly thick, and almost elastic — this is normal.
If using chocolate chips, fold in ½ cup at this stage.
Step 5: Bake
Pour the batter into the prepared pan and smooth the top with a spatula.
Bake for 45–50 minutes, or until the top is set and slightly crackled. A toothpick should come out mostly clean, but moist crumbs are okay.
Step 6: Cool and Cut
Let cool completely in the pan. This helps the mochi set and develop its signature chewy texture. For clean slices, chill for 30 minutes and use a sharp, oiled knife.
Tips, Variations & Substitutions
-
Don’t Underbake: These need the full bake time to avoid being too soft in the middle.
-
Cool Fully: Mochi texture improves as it rests — the chew gets better with time.
-
Double the Recipe: Make a larger batch in a 9×13-inch pan; increase bake time to 55–60 minutes.
-
Toasted Topping: Sprinkle sesame seeds or shredded coconut on top before baking for texture and flavor.
-
Matcha Twist: Swap ¼ cup of cocoa powder for matcha and add white chocolate chips.
Serving Ideas & Occasions
These mochi brownies are so versatile and fun to share:
-
Tea Time Treats: Pair with green tea or Thai iced tea.
-
Party Squares: Cut into small bites for dessert buffets or potlucks.
-
Lunchbox Surprise: Wrap in wax paper for a chewy midday snack.
-
Dessert Bars: Add to a tray with mochi donuts or fruit skewers for an eclectic dessert board.
Serve:
-
Warm with ice cream for a molten-style dessert
-
Room temp for the ideal chew
-
Chilled for a firmer, taffy-like bite
Nutritional & Health Notes
-
Naturally Gluten-Free: Mochiko flour is made from glutinous rice but contains no gluten, making this dessert safe for those with celiac disease (check all other ingredients to confirm).
-
Lower in Flour: Compared to traditional brownies, mochi brownies use fewer refined ingredients.
-
Portion Smart: These are rich and satisfying — small squares go a long way.
Each serving (based on 16 squares) contains approximately:
-
200–230 calories
-
Moderate sugar and fat
-
A small amount of protein from eggs and mochiko
They’re indulgent, yes — but unique, satisfying, and surprisingly balanced.
FAQs
Q1: What is mochiko flour, and can I substitute it?
A1: Mochiko is glutinous rice flour made from short-grain sweet rice. It gives mochi its stretchy texture. You cannot substitute with regular rice flour or wheat flour, as it won’t produce the same chew.
Q2: Do mochi brownies need to be refrigerated?
A2: You can store them at room temperature for up to 2 days, but refrigeration extends freshness up to a week. Just bring to room temp before serving for best texture.
Q3: Can I freeze mochi brownies?
A3: Yes! Wrap tightly and freeze for up to 2 months. Thaw at room temperature and reheat slightly in the microwave to restore chewiness.
Q4: Why are my mochi brownies gooey in the middle?
A4: They may be slightly underbaked. Let them cool completely and they’ll firm up. If still too gooey, refrigerate before slicing.
Q5: Can I make them less sweet?
A5: Yes. Reduce the sugar to ¾ cup and consider using bittersweet chocolate chips for a more balanced flavor.
Q6: Are these brownies cakey or fudgy?
A6: Neither — they’re chewy! Unlike traditional brownies, mochi brownies have a bouncy, elastic texture that’s deeply satisfying and unique.
Q7: What kind of cocoa powder works best?
A7: Dutch-process cocoa will give you a darker, smoother flavor. Natural cocoa works fine too, but it may yield a slightly lighter and tangier profile.
Homemade Mochi Brownies – Dense, Gooey & Delicious
A unique twist on traditional brownies made with mochiko (sweet rice flour) for a chewy, fudgy, gluten-free treat with rich chocolate flavor and an irresistible texture.
- Prep Time: 15 minutes
- Cook Time: 50 minutes
- Total Time: 1 hour 5 minutes
- Yield: 16 squares 1x
Ingredients
-
1½ cups mochiko (glutinous rice flour)
-
¾ cup unsweetened cocoa powder
-
1 cup granulated sugar
-
½ tsp salt
-
½ tsp espresso powder (optional)
-
½ cup unsalted butter, melted
-
1 can (13.5 oz) full-fat coconut milk
-
3 large eggs
-
1 tsp vanilla extract
-
½ cup chocolate chips or chunks (optional)
Instructions
-
Preheat oven to 350°F (175°C). Line and grease a 9×9-inch baking pan.
-
Melt butter and let cool slightly. In a bowl, whisk together coconut milk, eggs, vanilla, and butter.
-
In a large bowl, combine mochiko, cocoa powder, sugar, salt, and espresso powder.
-
Pour wet mixture into dry and stir until smooth. Fold in chocolate chips.
-
Pour into prepared pan, smooth the top, and bake for 45–50 minutes.
-
Let cool completely before slicing. Chill for firmer texture.
Notes
Store at room temp for 2 days or refrigerate for up to 1 week. Mochi brownies freeze well. Use parchment to prevent sticking.