
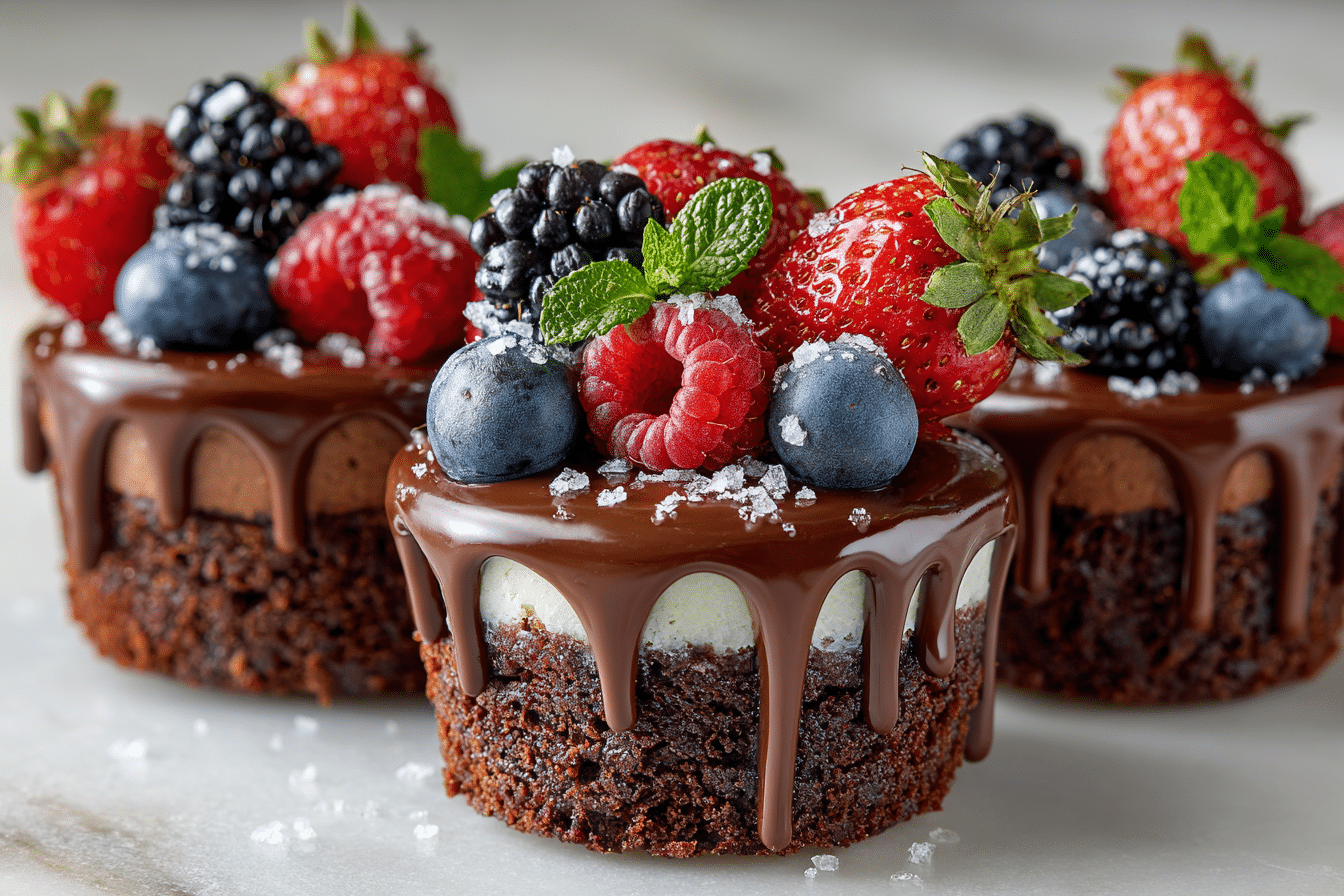
When one dessert just isn’t enough, these loaded brownie cheesecake dessert cups come to the rescue. With a base of rich, fudgy brownie, a creamy layer of no-bake vanilla cheesecake, and a luscious topping of whipped chocolate ganache or sauce, each spoonful is pure indulgence. This recipe stacks three decadent favorites into one single-serve cup—perfect for dinner parties, special occasions, or any time you want to wow a crowd.
What sets this dessert apart is its texture: chewy brownie, velvety cheesecake, and smooth chocolate all in perfect harmony. You don’t need a springform pan or water bath. Instead, these layered cups are pre-portioned, no-fuss, and easier to make ahead.
Every bite hits a different note—chocolatey, creamy, rich, and light all at once. And yes, you can absolutely customize them with crushed cookies, berries, or candy to make them your own.
Ingredients Overview
Each layer in these dessert cups brings its own flavor and texture, so ingredient quality matters. Here’s what you’ll need:
Brownie Layer:
Use your favorite homemade brownie recipe or a good-quality boxed mix. The base should be dense and chewy, not cakey. If using a mix, underbake slightly for the perfect texture when chilled and layered.
Cream Cheese:
Full-fat cream cheese gives structure and tang to the cheesecake layer. Soften to room temperature for a smooth mixture.
Heavy Cream:
Adds lightness and volume to the no-bake cheesecake and is essential for the whipped ganache topping.
Powdered Sugar:
Sweetens the cheesecake layer without grittiness. Easily adjustable to taste.
Vanilla Extract:
Gives warmth and aroma to the cheesecake layer. Use pure extract if possible.
Dark or Semi-Sweet Chocolate:
Used for the ganache layer. Choose high-quality chocolate for a rich, smooth finish.
Butter (Optional):
A small amount added to the ganache creates a glossy finish and softer texture.
Optional Add-ins:
Crushed Oreos, mini chocolate chips, chopped nuts, or salted caramel drizzle can take these cups over the top.
Step-by-Step Instructions
-
Prepare the Brownies:
Bake your favorite brownie recipe in a 9×9-inch pan. Once cooled, cut into small cubes or crumble into large chunks. You’ll need about 3 cups of brownie pieces. Set aside to cool completely. -
Make the No-Bake Cheesecake Layer:
In a large mixing bowl, beat 12 oz softened cream cheese with ½ cup powdered sugar and 1½ teaspoons vanilla extract until smooth and fluffy. In a separate bowl, whip 1 cup heavy cream to stiff peaks. Gently fold the whipped cream into the cream cheese mixture until fully combined and airy. -
Make the Chocolate Ganache:
Heat ¾ cup heavy cream in a small saucepan until just simmering. Pour over 6 oz chopped dark chocolate in a heatproof bowl. Let sit for 2–3 minutes, then stir until smooth. For extra shine, stir in 1 tablespoon butter. Let ganache cool slightly until thick but still pourable. -
Assemble the Cups:
In 6–8 small dessert glasses or jars, layer as follows:-
Spoon 3–4 tablespoons of brownie pieces into the bottom.
-
Add a layer of cheesecake filling (about ¼ cup).
-
Spoon or drizzle 1–2 tablespoons of ganache over the top.
-
Repeat with another brownie and cheesecake layer if using taller cups.
-
Finish with more ganache and optional toppings like shaved chocolate, crushed cookies, or berries.
-
-
Chill:
Refrigerate the cups for at least 2 hours before serving. This allows the layers to set and flavors to develop. -
Serve Cold:
Garnish just before serving for best texture and presentation. These cups are rich—small portions go a long way.
Tips, Variations & Substitutions
Use store-bought brownies to save time. Choose a fudgy style over cakey.
Add crushed cookies between the brownie and cheesecake layer for crunch.
Mix in peanut butter to the cheesecake for a chocolate-peanut butter variation.
Add espresso powder to the brownie batter or ganache for mocha lovers.
Make it gluten-free by using a gluten-free brownie base and confirming other ingredients are certified GF.
Create mini versions in shot glasses or mini dessert cups for parties.
Top with whipped cream and a cherry for a brownie sundae-style finish.
Serving Ideas & Occasions
These loaded dessert cups are ideal for celebrations—birthdays, anniversaries, date nights, or dessert tables. Their layered look makes them visually stunning, while the flavors speak for themselves.
Serve as part of a dessert trio alongside fruit tarts and lemon bars, or offer them as a luxurious single treat at the end of a special meal.
They’re also great for entertaining because they’re fully make-ahead and easy to serve—no slicing or plating needed.
Pair with a shot of espresso, glass of red wine, or a silky dessert liqueur to complete the indulgence.
Nutritional & Health Notes
This is a rich, high-calorie dessert best enjoyed in small servings. The individual cups help with portion control and prevent overindulging, despite how tempting they are.
If you’re looking to lighten things up slightly, use light cream cheese, reduce the ganache layer, or skip the second brownie layer. You can also swap heavy cream in the cheesecake layer with Greek yogurt for a tangier, lower-fat option.
For a dairy-free version, use vegan cream cheese, coconut cream, and a dairy-free chocolate brand.
No artificial flavors or preservatives are needed—just real ingredients and balanced portions.
FAQs
1. Can I make these dessert cups ahead of time?
Yes! You can assemble the cups up to 2 days in advance. Keep them covered in the fridge. Add final toppings like whipped cream or crushed cookies just before serving.
2. Can I freeze brownie cheesecake cups?
You can freeze them, but the texture of the cheesecake and ganache may change slightly. For best results, serve chilled from the fridge within 2–3 days.
3. What size cups should I use?
Use 6 to 8-ounce dessert glasses or jars. They offer enough space for layers without being overly large. Even smaller cups work for bite-sized portions.
4. Can I make these without the ganache layer?
Yes. You can skip the ganache and top with fresh berries, caramel sauce, or crushed candy instead. The dessert is still delicious and slightly lighter.
5. What type of brownie works best?
Fudgy brownies with chewy edges are ideal. Avoid cakey or dry brownies—they won’t hold up well under the creamy layers.
6. Can I use a different flavor cheesecake?
Definitely. Add lemon zest, cocoa powder, or flavored extracts to change it up. A swirl of raspberry jam or cookie butter in the cheesecake is also delicious.
7. Are these suitable for kids?
Yes! Kids love the layered look and creamy texture. Just be mindful of portion size, and skip any alcohol-based extracts or liqueurs.
Mini Brownie Cheesecake Cups for Christmas Desserts

Decadent layered dessert cups with fudgy brownie base, smooth vanilla cheesecake filling, and rich chocolate ganache topping—a no-bake treat perfect for indulgent occasions.
- Prep Time: 30 minutes
- Cook Time: 25 minutes (for brownies)
- Total Time: 2 hours 55 minutes (including chilling)
- Yield: 6–8 servings
Ingredients
Brownie Base:
3 cups brownie chunks (from homemade or boxed brownies)
Cheesecake Layer:
12 oz cream cheese, softened
½ cup powdered sugar
1½ tsp vanilla extract
1 cup heavy cream
Ganache Topping:
6 oz dark or semi-sweet chocolate, chopped
¾ cup heavy cream
1 tbsp butter (optional)
Instructions
-
Bake brownies and let cool. Cut into chunks.
-
Beat cream cheese with powdered sugar and vanilla until smooth.
-
Whip heavy cream to stiff peaks. Fold into cream cheese mixture.
-
Heat cream until simmering. Pour over chopped chocolate. Let sit 2 minutes, then stir until smooth. Stir in butter if using. Cool slightly.
-
In glasses, layer brownie chunks, cheesecake filling, and ganache. Repeat layers if desired.
-
Chill at least 2 hours before serving.
-
Garnish with toppings like whipped cream, crushed cookies, or berries.
Notes
Use store-bought brownies for a shortcut.
Customize with nut butters, crushed Oreos, or caramel drizzle.
Best served cold.