
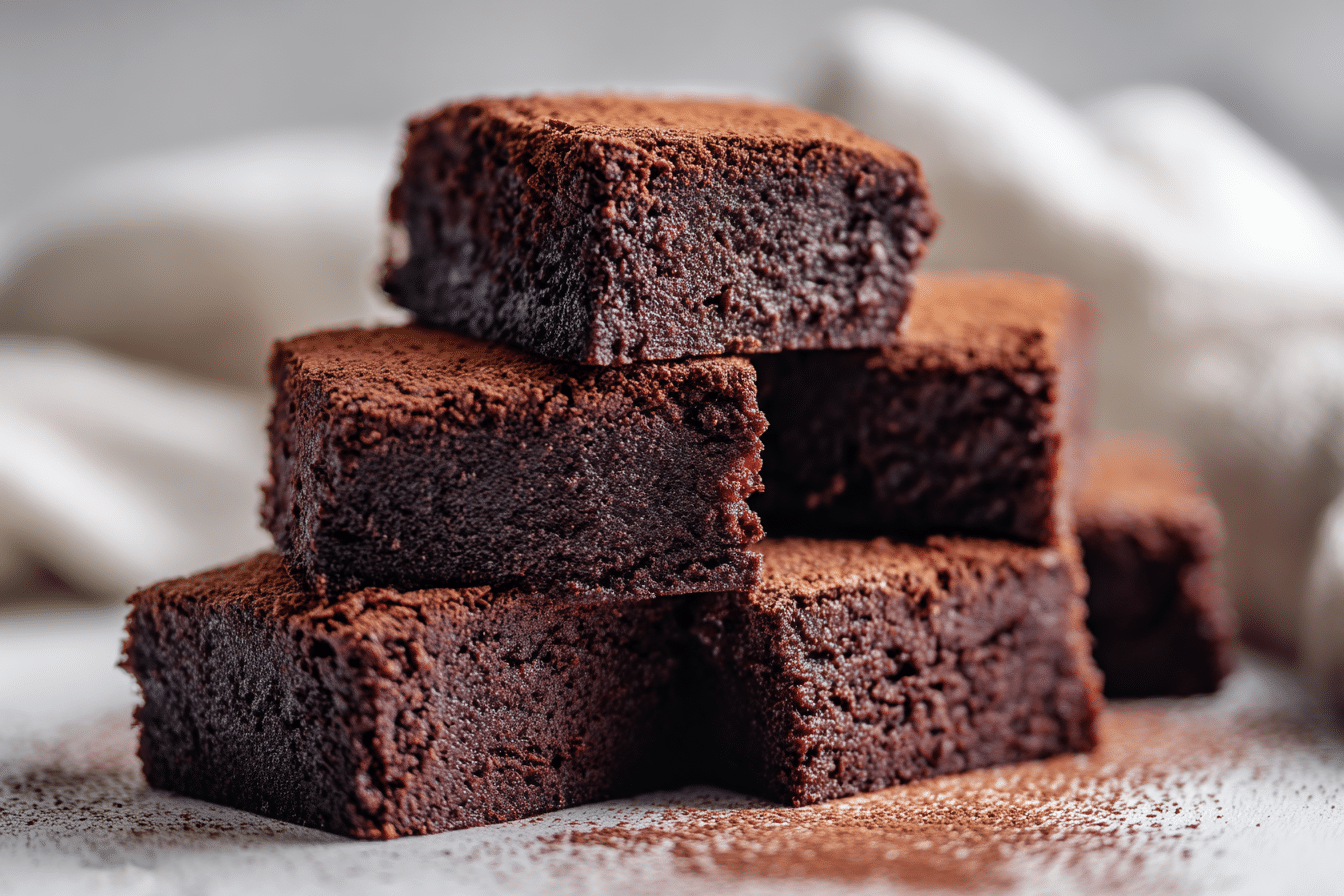
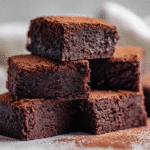
There’s something magical about a pan of warm, homemade Cocoa Brownies. These aren’t your average brownies from a box — they’re deep, dark, and irresistibly fudgy, made entirely with pantry staples. No need for fancy chocolate bars — just good-quality cocoa powder, a whisk, and a craving for something deeply chocolatey.
This Best Ever Cocoa Brownies recipe is the result of time-tested methods and simple ingredients done right. The top bakes into that signature shiny, crinkled crust, while the inside stays rich, moist, and dense, like a cross between a truffle and a brownie.
Perfect for weeknight cravings, school bake sales, or a quick sweet fix, these brownies are beloved for both their ease and their intense chocolate flavor.
Ingredients Overview
Each ingredient in these cocoa brownies has a distinct purpose — and with no chocolate bars in sight, the quality of your cocoa matters more than ever.
Core Ingredients:
-
Unsalted Butter: The base of richness. Melting it before mixing gives that chewy texture we love in brownies.
-
Granulated Sugar: Sweetens and helps form the shiny crust. Dissolving it into warm butter is the secret to that crackly top.
-
Cocoa Powder: The star of the show. Use Dutch-processed for a smooth, dark flavor, or natural cocoa for a slightly more acidic, bold taste.
-
Eggs: Provide structure and fat for moisture. Using room temperature eggs helps emulsify the batter properly.
-
All-Purpose Flour: Keeps the brownies thick and fudgy. Use just enough to hold them together without making them cakey.
-
Vanilla Extract: Adds depth and rounds out the chocolate.
-
Salt: Just a pinch brings out the cocoa’s richness and balances the sweetness.
Optional Add-ins:
-
Chocolate Chips or Chunks: Stir in for melty pools of chocolate inside.
-
Espresso Powder: Enhances the cocoa flavor (use 1 tsp).
-
Chopped Nuts: Walnuts or pecans for crunch.
Ingredient Tips:
-
Cocoa Powder Matters: High-fat, dark cocoa will give a richer, more luxurious brownie.
-
Butter Quality: Since there’s no melted chocolate, the butter plays a key flavor role — use the good stuff.
Step-by-Step Instructions
1. Prep Your Pan & Oven:
Preheat your oven to 325°F (163°C). Line an 8×8-inch square pan with parchment paper, leaving overhang for easy lifting.
2. Melt Butter & Cocoa Together:
In a medium saucepan over low heat, melt the butter. Once melted, remove from heat and immediately stir in the cocoa powder and sugar. Whisk vigorously until fully combined and glossy.
This step not only blends flavors but also helps create that beloved brownie crust.
3. Cool Slightly, Then Add Eggs:
Let the mixture cool for 5 minutes so the eggs don’t scramble. Then whisk in the eggs one at a time, beating well after each addition. The batter should look thick, smooth, and shiny.
4. Add Vanilla & Salt:
Stir in vanilla extract and salt. These simple ingredients deepen the flavor profile, especially important in cocoa-based brownies.
5. Fold in Flour:
Using a spatula, fold in the flour gently until just incorporated. Avoid overmixing — the goal is to keep the texture tender and fudgy.
6. Optional Mix-ins:
At this point, fold in chocolate chips or nuts if desired. These add texture and bursts of melted richness.
7. Bake:
Pour the batter into the prepared pan and smooth the top. Bake for 28–32 minutes, or until a toothpick inserted in the center comes out with moist crumbs.
Don’t wait for a clean toothpick — overbaking leads to dry brownies.
8. Cool & Slice:
Let cool in the pan for 10 minutes, then lift out and transfer to a wire rack to cool completely before slicing. For clean edges, use a sharp knife wiped clean between cuts.
Tips, Variations & Substitutions
Professional Tips:
-
Whisk sugar into warm butter to dissolve it fully — this gives you that crackly crust.
-
Always use room temperature eggs to prevent curdling.
-
Chill brownies before cutting for neater slices.
Flavor Variations:
-
Salted Caramel Swirl: Dollop caramel over the batter and swirl with a knife before baking.
-
Peanut Butter Swirl: Same as above — adds sweet-salty contrast.
-
Mexican Hot Chocolate Brownies: Add 1/2 tsp cinnamon and a pinch of cayenne for a spicy twist.
Dietary Swaps:
-
Gluten-Free: Substitute a 1:1 gluten-free baking flour blend.
-
Dairy-Free: Use vegan butter or coconut oil (note: this slightly alters texture and flavor).
-
Refined Sugar-Free: Swap in coconut sugar, but it may reduce the crackly top.
Serving Ideas & Occasions
These cocoa brownies are endlessly adaptable:
-
After-School Treats: Slice into lunchbox squares or serve with a cold glass of milk.
-
Potluck Desserts: A crowd favorite that holds up well during travel.
-
Elegant Desserts: Plate warm brownies with a scoop of vanilla ice cream and a dusting of cocoa.
-
Gifting: Wrap individually in parchment and tie with string for homemade gifts.
Serve them warm for gooey centers or chilled for chewy bites — both ways are irresistible.
Nutritional & Health Notes
Each brownie delivers chocolatey comfort with minimal ingredients — no preservatives or additives.
Here’s how to keep them a touch lighter without compromising on texture:
-
Smaller Servings: These brownies are rich — cut into 16 squares instead of 9.
-
Lower Sugar: Reduce sugar by 2–3 tablespoons for a slightly less sweet bite.
-
Add Fiber: Stir in 1 tbsp ground flaxseed or almond flour to increase fiber.
Cocoa powder also contains antioxidants and magnesium — a small indulgence with a surprising nutritional bonus.
FAQs
Q1: Why didn’t my brownies get a shiny top?
The shiny crust forms when sugar is fully dissolved in warm butter before eggs are added. If you skip this or don’t mix vigorously enough, the crust may not develop.
Q2: Can I use natural cocoa powder instead of Dutch-processed?
Yes. Natural cocoa gives a more acidic, sharp flavor. If you want smooth, mellow chocolate notes, Dutch-processed is preferred.
Q3: How do I keep brownies from being dry?
Don’t overbake. Brownies continue to set as they cool. Check early and pull them out when crumbs cling to your toothpick but no wet batter remains.
Q4: Can I make these brownies in a 9×13 pan?
Yes, double the recipe and reduce baking time slightly (start checking at 28 minutes). The thinner layer bakes faster.
Q5: Can I use oil instead of butter?
You can, but the flavor and texture will change. Butter provides richness and structure, while oil gives more moisture and chew. Use neutral oil like canola if substituting.
Q6: What type of cocoa powder is best for brownies?
Look for high-fat cocoa powder (20–22%) for richer flavor and smoother texture. Dutch-processed works best here for a velvety chocolate taste.
Q7: How should I store cocoa brownies?
Store them in an airtight container at room temperature for 3–4 days, or refrigerate for up to a week. They also freeze beautifully for up to 2 months.
PrintBest Cocoa Brownies — Fudgy, Soft & Made From Scratch
Super fudgy, easy cocoa brownies made with rich cocoa powder, melted butter, and pantry staples. Crackly top, chewy center — no chocolate bar required.
- Prep Time: 10 minutes
- Cook Time: 30 minutes
- Total Time: 40 minutes
- Yield: 9–16 brownies 1x
Ingredients
-
10 tbsp unsalted butter
-
1 1/4 cups granulated sugar
-
3/4 cup unsweetened cocoa powder (Dutch-processed preferred)
-
2 large eggs
-
1/2 tsp vanilla extract
-
1/2 cup all-purpose flour
-
1/4 tsp salt
-
Optional: 1/2 cup chocolate chips or chopped nuts
Instructions
-
Preheat oven to 325°F (163°C). Line an 8×8 pan with parchment.
-
Melt butter in saucepan over low heat. Remove from heat and whisk in cocoa powder and sugar until smooth.
-
Let cool for 5 minutes. Whisk in eggs one at a time, then vanilla and salt.
-
Fold in flour until just combined. Add optional mix-ins.
-
Pour into prepared pan and smooth top.
-
Bake 28–32 minutes until a toothpick comes out with moist crumbs.
-
Cool before slicing for clean edges
Notes
Use high-quality cocoa powder for best flavor. Add espresso powder to deepen the chocolate. Store in airtight container up to 4 days or freeze up to 2 months.