
There’s something deeply satisfying about sinking your teeth into a rich, fudgy brownie—but when you can make it without turning on the oven, it feels like winning the dessert lottery. No-bake brownies are the ultimate shortcut to chocolate bliss. They’re chewy, dense, and packed with deep cocoa flavor, yet require minimal effort and no baking time.
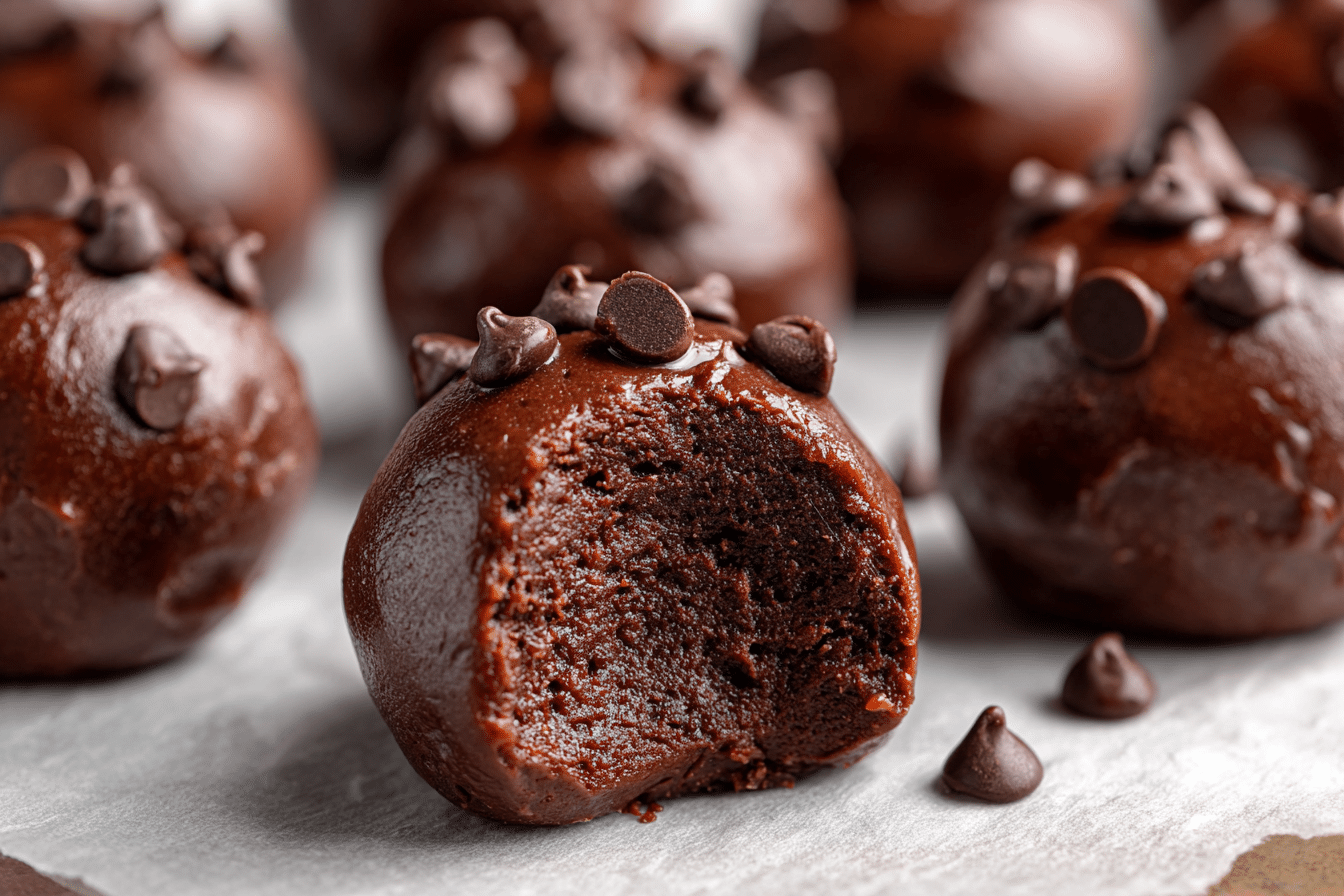
These no-bake brownies combine pantry staples to create a thick, luscious slab of chocolatey goodness in just minutes. The texture is somewhere between a truffle and a traditional brownie—soft, slightly chewy, and wonderfully satisfying. Best of all, they’re naturally gluten-free and can be easily adapted to suit different dietary preferences.
Whether you’re craving a quick late-night dessert, prepping lunchbox treats, or looking for a no-fuss party snack, this recipe delivers. Made with real ingredients and zero processed mixes, these brownies are full of chocolate depth, nutty undertones, and just the right amount of sweetness. Once chilled and sliced, they hold their shape perfectly for neat, decadent bites every time.
Ingredients Overview
Cocoa Powder: The heart of this recipe, unsweetened cocoa powder delivers deep, dark chocolate flavor without added sugar. Dutch-processed cocoa gives a smoother taste, while natural cocoa brings a more intense bite.
Nut Butter: Peanut butter or almond butter acts as the binder, replacing flour and butter in traditional recipes. It adds richness and helps achieve that classic dense, fudgy texture. Use natural varieties without added sugar or hydrogenated oils.
Maple Syrup: This natural sweetener adds moisture and warmth, complementing the cocoa without overpowering it. You can substitute with honey or agave nectar if needed.
Oats: Rolled oats provide bulk and structure. They give the brownies a slight chew and help firm them up once chilled. For a smoother texture, pulse them in a food processor before mixing.
Dark Chocolate Chips: Melting some chocolate into the batter deepens the cocoa flavor and adds a silkiness to the final texture. You can also fold in extra chips for pockets of gooeyness.
Vanilla Extract: Just a touch enhances all the chocolatey flavors and balances the sweetness.
Sea Salt: A pinch is essential—it sharpens all the other flavors and keeps the brownies from tasting flat.
Optional Add-Ins:
-
Chopped nuts for crunch
-
Coconut flakes for extra texture
-
Espresso powder for added depth
Substitutions:
-
Use sunflower seed butter for a nut-free version.
-
Swap maple syrup with date syrup or brown rice syrup.
-
Replace oats with quinoa flakes for a grain-free option.
Step-by-Step Instructions
Step 1: Prepare the Pan
Line an 8×8-inch baking pan with parchment paper, leaving an overhang on two sides. This makes it easier to lift the brownies out once they’re chilled and firm.
Step 2: Melt the Chocolate and Nut Butter
In a medium saucepan over low heat, combine the nut butter, maple syrup, and chocolate chips. Stir continuously until the chocolate is melted and the mixture is smooth and glossy. Avoid overheating—remove from heat as soon as everything is incorporated.
Step 3: Add the Cocoa Powder and Vanilla
Stir in the cocoa powder and vanilla extract while the mixture is still warm. The cocoa will thicken the mixture slightly and boost that rich chocolate flavor.
Step 4: Fold in the Oats
Add the oats and stir until everything is evenly coated. If you’re using add-ins like chopped nuts or coconut, fold them in at this stage.
Step 5: Press into the Pan
Transfer the mixture to your prepared pan. Use a spatula or your hands (lightly greased or covered in parchment) to press the mixture firmly and evenly into all corners. The more compact, the better the final texture.
Step 6: Chill to Set
Place the pan in the fridge for at least 2 hours, or until the brownies are firm and sliceable. For quicker results, freeze for 30–40 minutes.
Step 7: Slice and Serve
Once firm, lift the brownies from the pan and cut into squares or bars using a sharp knife. Wipe the blade between cuts for cleaner edges.
Common Mistakes to Avoid:
-
Overheating the chocolate mixture, which can cause separation.
-
Using instant oats, which lack the needed texture.
-
Not pressing firmly enough, leading to crumbly brownies.
Tips, Variations & Substitutions
Tips:
-
Chill thoroughly before slicing to avoid stickiness.
-
For extra shine and richness, top with a thin layer of melted chocolate.
-
Use a silicone spatula to press the mixture evenly into the pan.
Flavor Variations:
-
Add crushed peppermint candies for a festive twist.
-
Swirl in raspberry or peanut butter before chilling.
-
Sprinkle with flaky sea salt for a sweet-salty finish.
Dietary Swaps:
-
Vegan: Use dairy-free chocolate chips and maple syrup.
-
Nut-Free: Substitute seed butter and ensure chocolate is allergen-safe.
-
Low-Sugar: Choose sugar-free chocolate chips and use monk fruit syrup.
Serving Ideas & Occasions
No-bake brownies are incredibly versatile and perfect for many occasions. Serve them as a quick afternoon snack, a lunchbox treat, or a simple dessert after dinner. Their dense, rich texture makes them ideal for pairing with lighter accompaniments like fresh fruit or a dollop of yogurt.
For entertaining, cut the brownies into bite-sized cubes and serve them as part of a dessert board with berries, nuts, and small cookies. They also make fantastic make-ahead treats for picnics, potlucks, and bake sales.
During the holidays, wrap them in parchment and twine for a thoughtful, homemade gift. You can even freeze them and defrost just a few at a time when cravings strike.
Nutritional & Health Notes
These brownies are naturally gluten-free and can be made vegan or refined sugar-free with simple substitutions. They offer a healthier twist on a classic dessert by using whole-food ingredients and skipping refined flour and butter.
Nut butter provides healthy fats and protein, oats add fiber, and cocoa offers antioxidants. While they’re still a treat, these brownies bring more nutrition to the table than typical baked versions.
Keep in mind that portion size matters. They’re rich, so small squares go a long way in satisfying a sweet craving.
FAQs
1. Can I make no-bake brownies without oats?
Yes, you can use crushed nuts, quinoa flakes, or coconut flour instead of oats. Just be sure to adjust the quantity to achieve the right consistency—it should be thick and scoopable, not runny.
2. Do I have to refrigerate them?
Yes, chilling is essential for these brownies to firm up and hold their shape. Without baking, the cold helps set the fats and bind the ingredients together.
3. How long do they last?
Stored in an airtight container in the fridge, no-bake brownies last up to one week. You can also freeze them for up to 2 months and thaw individual pieces as needed.
4. Can I add protein powder?
Absolutely. Add 1–2 tablespoons of unsweetened protein powder with the oats. You may need to increase the maple syrup slightly to maintain moisture.
5. Why are my brownies too soft or sticky?
Too much syrup or not enough chilling time can cause this. Chill longer or add a bit more oats to absorb excess moisture. Also, make sure your nut butter isn’t too oily.
6. Are these brownies kid-friendly?
Yes, they’re a great option for kids. You can cut back the cocoa slightly for a milder taste or use semi-sweet chocolate chips to increase sweetness if needed.
7. Can I use a food processor?
Yes, especially if you want a smoother texture. Process the oats before mixing or blend the whole mixture before pressing into the pan for a uniform consistency.
Chocolate No-Bake Brownies with a Truffle-Like Texture

Fudgy, rich, and no oven required—these no-bake brownies come together in minutes using wholesome ingredients and deliver deep chocolate flavor in every bite.
- Prep Time: 7 minutes
- Cook Time: 5 minutes
- Total Time: 2 hours 15 minutes (including chilling)
- Yield: 16 brownies 1x
Ingredients
1/2 cup natural peanut butter or almond butter
1/3 cup maple syrup
1/2 cup dark chocolate chips
1/4 cup unsweetened cocoa powder
1 1/2 cups rolled oats
1 tsp vanilla extract
Pinch of sea salt
Instructions
-
Line an 8×8-inch pan with parchment paper.
-
In a saucepan over low heat, melt the nut butter, maple syrup, and chocolate chips, stirring until smooth.
-
Remove from heat and stir in cocoa powder and vanilla.
-
Fold in the oats and pinch of sea salt.
-
Press the mixture firmly into the prepared pan.
-
Refrigerate for at least 2 hours until firm.
-
Lift from pan and cut into squares to serve
Notes
For extra richness, top with melted chocolate or sprinkle with sea salt. Store chilled for best texture.