
Introduction
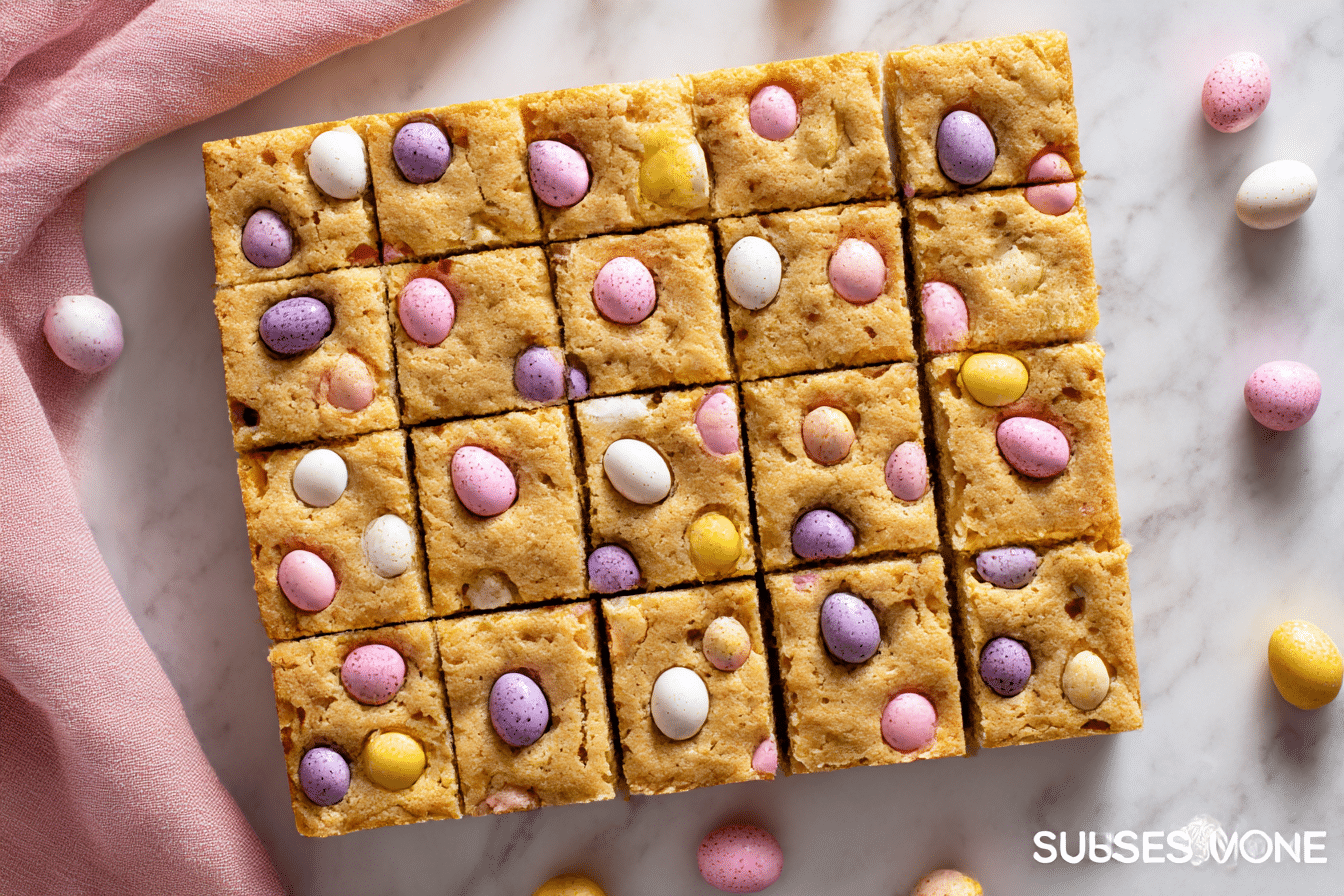
Mini Egg Cookie Bars bring together soft vanilla cookie dough and crisp candy shells in a colorful spring bake that draws everyone toward the dessert table. Each square delivers a tender center with lightly crisp edges, while crushed chocolate eggs add gentle crunch and creamy sweetness throughout.
These bars are ideal for busy households, bake sales, or holiday gatherings when a batch-style dessert feels practical yet festive. Instead of scooping individual cookies, the dough spreads into a single pan, bakes evenly, and slices into neat portions once cooled.
Mini Egg Cookie Bars carry a nostalgic charm, reminiscent of seasonal candy displays and family baking sessions. Pastel-coated chocolate eggs melt slightly during baking, creating pockets of smooth chocolate against buttery dough.
With straightforward ingredients and a reliable method, this recipe produces consistent results. Whether served as an afternoon snack with tea or arranged on a holiday tray, these bars offer balanced sweetness and satisfying texture in every bite.
Ingredients Overview
Each ingredient in Mini Egg Cookie Bars plays an important role in flavor and structure. Starting with unsalted butter, softened to room temperature, it forms the base of the dough. Butter contributes richness and helps create that soft, tender crumb. Proper creaming with sugar incorporates air, giving the bars a light texture.
Light brown sugar adds moisture and a subtle caramel note. Combined with granulated sugar, it provides depth without overwhelming sweetness. Using both sugars results in a balanced chewiness that distinguishes cookie bars from standard sheet cakes.
Large eggs bind the mixture together and support structure. Bringing eggs to room temperature helps them blend smoothly into the creamed butter and sugar.
Pure vanilla extract lends warmth and enhances the chocolate flavor in the candy eggs. A modest amount is sufficient to round out the sweetness.
All-purpose flour forms the backbone of the bars. Measuring accurately prevents dense texture. Baking soda offers lift and encourages slight browning along the edges. Fine salt balances sweetness and sharpens flavor.
Mini chocolate eggs, roughly chopped, deliver texture contrast. Some pieces remain chunky for bursts of chocolate, while smaller fragments distribute throughout the dough. If mini eggs are unavailable, chopped chocolate-covered almonds or candy-coated chocolate pieces serve as suitable substitutes.
Optional additions include white chocolate chips for added creaminess or a sprinkle of flaky sea salt on top before baking for a subtle savory finish.
Step-by-Step Instructions
Begin by preheating the oven to 350°F. Line a 9×13-inch baking pan with parchment paper, leaving an overhang on the sides. This step allows easy removal once baked and cooled.
In a large mixing bowl, cream softened butter, light brown sugar, and granulated sugar until pale and fluffy. This process typically takes three to four minutes with an electric mixer. Scrape the bowl as needed to prevent uneven mixing.
Add eggs, incorporating them fully after each addition. Blend in vanilla extract until the mixture appears smooth and cohesive.
In a separate bowl, whisk together flour, baking soda, and salt. Gradually add the dry ingredients to the wet mixture. Mix just until combined. Overmixing can produce tough bars, so stop once no visible flour streaks remain.
Fold in chopped mini chocolate eggs using a spatula. Distribute them evenly throughout the dough to avoid candy clusters concentrated in a single section.
Transfer the dough into the prepared pan. Press gently into an even layer, paying attention to corners for uniform thickness. For an attractive finish, press a handful of additional mini egg pieces across the surface.
Place the pan in the preheated oven. Bake for 25 to 30 minutes, or until the edges turn lightly golden and the center appears set. A toothpick inserted in the middle should come back with a few moist crumbs rather than raw batter.
Avoid overbaking. The bars continue to firm as they cool. Removing them slightly underdone preserves a soft interior.
Allow the pan to cool completely on a wire rack. Once cooled, lift the bars using the parchment overhang and transfer to a cutting board. Slice into squares or rectangles using a sharp knife, wiping the blade between cuts for clean edges.
Tips, Variations & Substitutions

For clean slices, chill the baked bars in the refrigerator for about 30 minutes before cutting. This step firms the chocolate and reduces crumbling.
If a thicker bar is preferred, bake the dough in a slightly smaller pan and extend baking by a few minutes. Keep a close eye on the center to avoid dryness.
For a richer profile, substitute half of the all-purpose flour with bread flour. This adjustment increases chewiness while maintaining structure.
To create a festive twist, stir in pastel sprinkles along with the mini eggs. For a deeper chocolate flavor, replace two tablespoons of flour with unsweetened cocoa powder.
Those seeking a gluten-free version can use a cup-for-cup gluten-free baking blend that contains xanthan gum. Texture may differ slightly but remains tender.
For a dairy-free adaptation, choose plant-based butter sticks and dairy-free chocolate eggs. Results vary by brand, so select high-quality alternatives for optimal flavor.
A sprinkle of flaky sea salt over the warm bars adds contrast and highlights sweetness without overwhelming the candy coating.
Serving Ideas & Occasions
Mini Egg Cookie Bars suit spring holidays, classroom parties, and weekend gatherings. Arranged on a pastel platter, they bring cheerful color to dessert spreads.
Serve slightly warmed with a scoop of vanilla ice cream for an indulgent dessert. The gentle warmth softens the chocolate, creating a pleasing contrast against cold ice cream.
These bars travel well, making them suitable for potlucks or packed lunches. Stack squares between layers of parchment in an airtight container to maintain freshness.
Pair with coffee, tea, or a glass of cold milk. Their balanced sweetness complements both hot and chilled beverages.
For gift giving, wrap individual squares in wax paper and tie with twine. The bright candy pieces visible in each slice create an inviting presentation.
Nutritional & Health Notes
Mini Egg Cookie Bars contain butter, sugar, and chocolate, placing them firmly in the dessert category. Enjoying moderate portions supports balanced eating habits.
Each square provides carbohydrates for energy along with fat from butter and chocolate. Eggs contribute protein and assist with satiety.
Using high-quality chocolate and real vanilla extract enhances flavor, which may reduce the desire for oversized servings.
For those monitoring sugar intake, consider reducing granulated sugar slightly or increasing the ratio of dark chocolate mini eggs to moderate sweetness.
Storing bars in an airtight container preserves texture for up to four days at room temperature. Refrigeration extends shelf stability but may firm the crumb; allowing slices to sit at room temperature briefly before serving restores softness.
FAQs
1. Can Mini Egg Cookie Bars be prepared in advance?
Yes, these bars hold texture well for several days when stored in an airtight container. Bake, cool completely, and slice before storing. For longer storage, wrap tightly and freeze for up to two months. Thaw at room temperature before serving.
2. Why did my bars turn dry?
Dry texture often results from excess flour or extended baking. Spoon flour into the measuring cup and level gently rather than scooping directly from the bag. Remove the pan when the center appears set but still slightly soft.
3. Can I use whole mini eggs instead of chopping them?
Whole mini eggs create larger chocolate pockets and can sink slightly during baking. Chopping allows even distribution and balanced texture throughout each square.
4. How do I achieve clean edges when slicing?
Allow complete cooling before cutting. Chilling briefly in the refrigerator firms the chocolate. Use a sharp knife and wipe between cuts for neat portions.
5. Can these bars be doubled?
Yes, double the ingredients and bake in a larger sheet pan. Monitor baking closely, as depth and pan size influence baking duration.
6. Are Mini Egg Cookie Bars suitable for shipping?
They ship well when wrapped individually and packed snugly in a sturdy box. Avoid extreme heat, which may soften the chocolate coating.
7. Can I substitute other candies?
Chopped peanut butter cups, chocolate-covered almonds, or candy-coated chocolate pieces work well. Select mix-ins with similar size and texture to maintain structural balance.
Easy Mini Egg Cookie Bars for Easter Baking

Soft and chewy Mini Egg Cookie Bars filled with chopped chocolate eggs and baked in a single pan for easy slicing.
- Prep Time: 15 minutes
- Cook Time: 30 minutes
- Total Time: 45 minutes
- Yield: 15 minutes 1x
Ingredients
1 cup unsalted butter softened
1 cup light brown sugar packed
1 cup granulated sugar
2 large eggs room temperature
2 teaspoons pure vanilla extract
3 cups all purpose flour
1 teaspoon baking soda
1 teaspoon fine salt
1 1/2 cups mini chocolate eggs roughly chopped
1/2 cup additional mini eggs for topping optional
Instructions
-
Preheat oven to 350°F and line a 9×13 inch baking pan with parchment paper.
-
Cream butter, brown sugar, and granulated sugar until pale and fluffy.
-
Add eggs one at a time mixing well after each addition then blend in vanilla extract.
-
In a separate bowl whisk flour, baking soda, and salt.
-
Gradually combine dry ingredients with wet mixture until just incorporated.
-
Fold in chopped mini chocolate eggs evenly.
-
Press dough into prepared pan and sprinkle additional mini eggs on top.
-
Bake for 25 to 30 minutes until edges are lightly golden and center is set.
-
Cool completely before lifting from pan and slicing into squares.
Notes
Do not overbake to maintain a soft center. Chill briefly before slicing for cleaner edges. Store in an airtight container up to four days.