
This No-Knead Ciabatta delivers everything you love about artisan bread — a golden, crisp crust and an open, airy crumb — with minimal effort and no kneading required. Ciabatta, which means “slipper” in Italian, gets its name from its flat, elongated shape and rustic appearance. Originating in the Veneto region in the 1980s, ciabatta was developed as Italy’s answer to the French baguette, designed to hold olive oil and sandwich fillings beautifully.
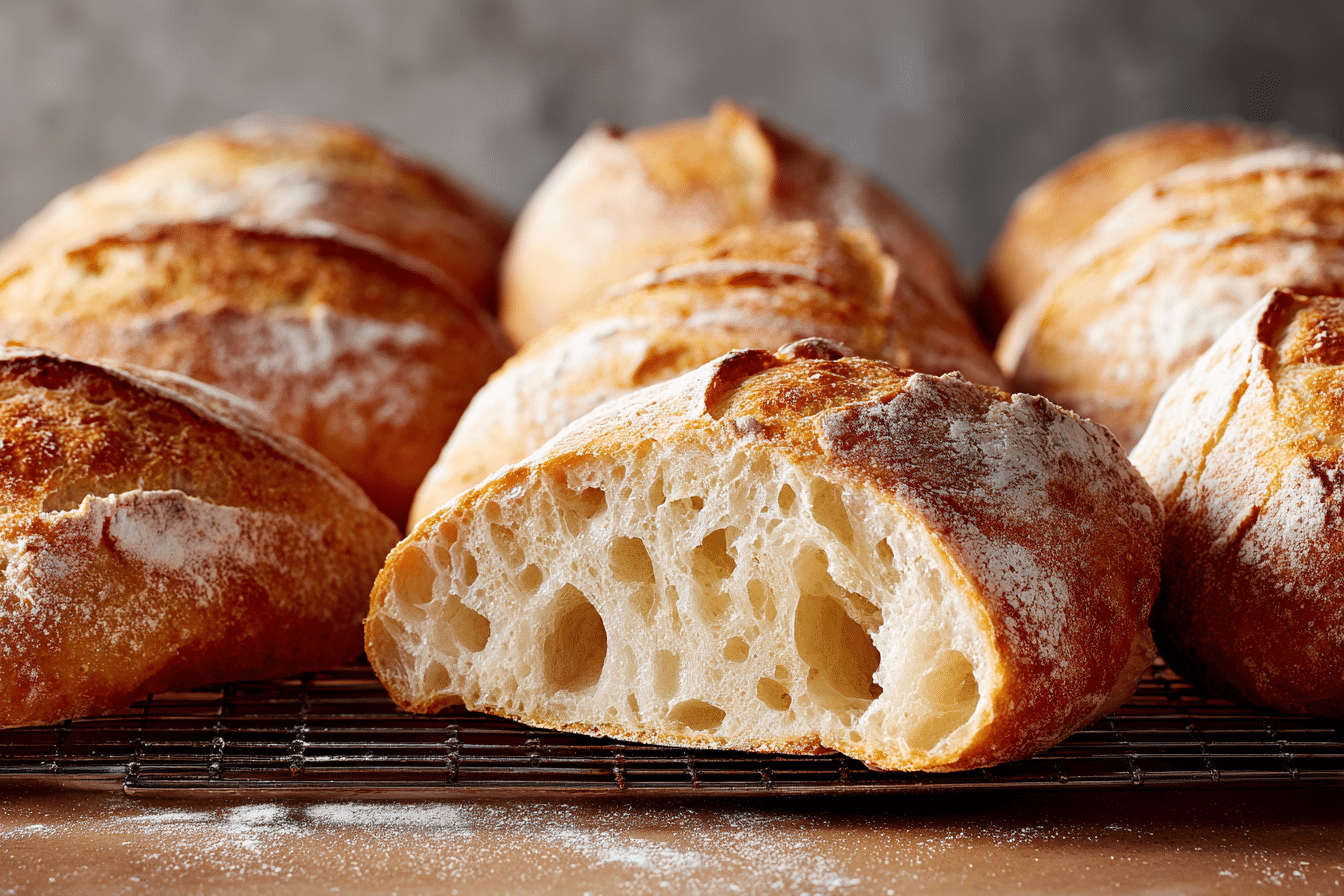
With a high-hydration dough and slow fermentation, this no-knead method produces those classic irregular holes and a slightly chewy texture. It’s the kind of bread that feels like it came straight from a bakery — ideal for sandwiches, dipping in soups, or simply tearing apart warm with butter.
Even if you’ve never baked bread before, this recipe is beginner-friendly and requires just a bowl, a spatula, and some patience. The long fermentation does all the work for you, developing deep flavor and structure without any kneading.
Ingredients Overview
Bread Flour
Bread flour is essential here — its higher protein content helps create gluten strands that support the dough’s structure and contribute to that airy, chewy crumb. All-purpose flour can work in a pinch, but your crumb may not be as open.
Water
Use lukewarm water (around 75–80°F or 24–27°C) to jumpstart fermentation. Since ciabatta dough is very wet (about 80% hydration), don’t be alarmed by its sticky texture — that’s what gives it those beautiful holes.
Instant Yeast
Instant or rapid-rise yeast works best in this no-knead recipe. It activates quickly and gives a strong rise. You only need a small amount because the long fermentation time does the heavy lifting.
Salt
Salt strengthens gluten and balances the flavor of the dough. Don’t skip or reduce it — it’s crucial for both taste and structure.
Olive Oil (Optional)
Some bakers add a tablespoon of olive oil to enrich the dough slightly and give it a hint of flavor. It’s not traditional, but it can soften the crust and make the crumb a bit more tender. Totally optional.
Step-by-Step Instructions
1. Mix the Dough
In a large mixing bowl, stir together:
-
3¼ cups (400g) bread flour
-
1½ tsp salt
-
¼ tsp instant yeast
-
1½ cups (360g) lukewarm water
Use a spatula or wooden spoon to mix until you get a shaggy, sticky dough. There’s no need to knead — just make sure no dry flour remains.
Cover the bowl tightly with plastic wrap or a damp towel.
2. Bulk Fermentation (First Rise)
Let the dough rise at room temperature for 12 to 18 hours. It should double in size, look bubbly on the surface, and wobble slightly when shaken.
If your kitchen is cooler, allow up to 20 hours. Warmer kitchens will see faster fermentation.
3. Stretch and Fold (Optional Step for More Strength)
For slightly better structure, after 2–3 hours of the initial rise, you can do a few gentle stretch-and-folds directly in the bowl:
-
Wet your hands.
-
Grab one edge of the dough, stretch it upward, then fold it over itself.
-
Rotate the bowl and repeat 3 more times.
Then continue the rise as usual.
4. Shape the Dough
Generously flour your work surface and turn the dough out gently. Be careful not to deflate it. Dust the top of the dough with more flour and divide it into two equal pieces using a bench scraper.
Use floured hands to lift and gently shape each piece into a rectangle or slipper shape. Don’t overwork the dough — keep the airy structure intact.
Transfer to a well-floured piece of parchment paper or a heavily floured cloth (couche), cover loosely with a towel, and let rest for 45–60 minutes.
5. Preheat the Oven and Dutch Oven or Baking Stone
Preheat your oven to 475°F (245°C) for at least 30 minutes before baking. If you’re using a Dutch oven, place it inside to heat up. Alternatively, you can use a baking stone or an inverted baking sheet with a pan of water for steam.
6. Bake
Carefully transfer one loaf (still on parchment) into the hot Dutch oven or onto the baking stone. Cover if using a Dutch oven.
-
Bake covered for 15 minutes.
-
Remove the lid and bake another 10–15 minutes until deep golden brown and crisp.
Repeat with the second loaf if needed. Let the bread cool on a rack for at least 30 minutes before slicing.
Tips, Variations & Substitutions
Baking Tips
-
Use parchment paper to handle the sticky dough with ease.
-
Don’t add more flour to the dough itself — the high hydration is key.
-
Let it cool completely before slicing to avoid a gummy texture inside.
Flavor Variations
-
Herb Ciabatta: Add 1 tsp dried rosemary or thyme to the dough before fermentation.
-
Olive Ciabatta: Fold in chopped Kalamata olives during shaping.
-
Whole Wheat Version: Swap 25–30% of the bread flour for whole wheat flour.
Substitutions
-
All-Purpose Flour: Use if needed, but reduce water by 1–2 tablespoons to adjust for lower protein content.
-
Active Dry Yeast: Use ⅓ tsp and proof it in a small amount of warm water before adding.
Serving Ideas & Occasions
Fresh ciabatta is a versatile table bread and shines in many roles:
-
Sandwiches: Perfect for panini or caprese sandwiches — slice lengthwise and toast lightly.
-
Dipping Bread: Serve with extra-virgin olive oil and balsamic vinegar.
-
Breakfast: Toasted with butter and jam or avocado and eggs.
-
Soup Companion: Tear chunks and dip into tomato soup, minestrone, or creamy potato leek.
Its chewy interior and crisp crust are ideal for hearty, flavorful meals or simply snacking with cheese.
Nutritional & Health Notes
Ciabatta is a simple bread with just a few clean ingredients:
-
No added fats or sugars (unless using optional olive oil), making it relatively light.
-
High hydration dough can be easier to digest for some people, thanks to longer fermentation.
-
Portion Control: A small loaf goes a long way. Slice thinly for open-faced sandwiches or crostini.
Pairing it with protein-rich toppings like hummus, eggs, or lean meats makes it a balanced part of a meal.
FAQs
Q1: Why is my dough so sticky?
A1: Ciabatta dough is meant to be sticky — it has high hydration to create that light crumb. Use floured hands, a bench scraper, and parchment paper to manage it instead of adding extra flour.
Q2: Can I use sourdough starter instead of yeast?
A2: Yes! Use 100g active sourdough starter and reduce flour and water slightly to compensate. Extend the fermentation time to 18–24 hours for best flavor and rise.
Q3: Can I bake both loaves at once?
A3: If your oven and baking surface are large enough, yes. Otherwise, bake one at a time to maintain proper heat and steam.
Q4: How do I store ciabatta?
A4: Store at room temperature in a paper bag or wrapped in a clean kitchen towel for 1–2 days. For longer storage, slice and freeze — reheat in the oven to refresh.
Q5: Can I add mix-ins like cheese or herbs?
A5: Yes. Add them during the last stretch and fold or just before shaping. Be gentle to preserve the open crumb.
Q6: Why didn’t my bread rise much?
A6: Possible causes include old yeast, cold room temperature, or under-fermentation. Ensure your yeast is fresh and give the dough enough time to develop.
Q7: What’s the difference between ciabatta and baguette?
A7: Ciabatta has higher hydration, a softer interior, and a slipper shape. Baguettes are longer, denser, and typically made with slightly drier dough.
No-Knead Ciabatta Recipe – Perfect for Sandwiches & Dipping

This no-knead ciabatta is crusty on the outside, light and airy on the inside — a bakery-style Italian bread made effortlessly at home.
- Prep Time: 10 minutes
- Cook Time: 25 minutes
- Total Time: 13–18 hours (including rise)
- Yield: 2 small loaves 1x
Ingredients
-
3¼ cups (400g) bread flour
-
1½ tsp salt
-
¼ tsp instant yeast
-
1½ cups (360g) lukewarm water
-
(Optional) 1 tbsp olive oil
Instructions
-
Mix all ingredients in a large bowl into a sticky, shaggy dough.
-
Cover and let rise at room temperature for 12–18 hours.
-
(Optional) Perform a set of stretch-and-folds after 2–3 hours.
-
Heavily flour a surface and turn out the dough. Gently divide in half and shape.
-
Let rest 45–60 minutes, covered loosely.
-
Preheat oven to 475°F (245°C) with a Dutch oven or baking stone inside.
-
Transfer loaf to hot surface and bake 15 minutes covered, then 10–15 minutes uncovered.
-
Cool at least 30 minutes before slicing.
Notes
Use bread flour for best results. Don’t add flour to the dough — use it only on your hands and surface. For sourdough, substitute 100g starter and adjust hydration.