
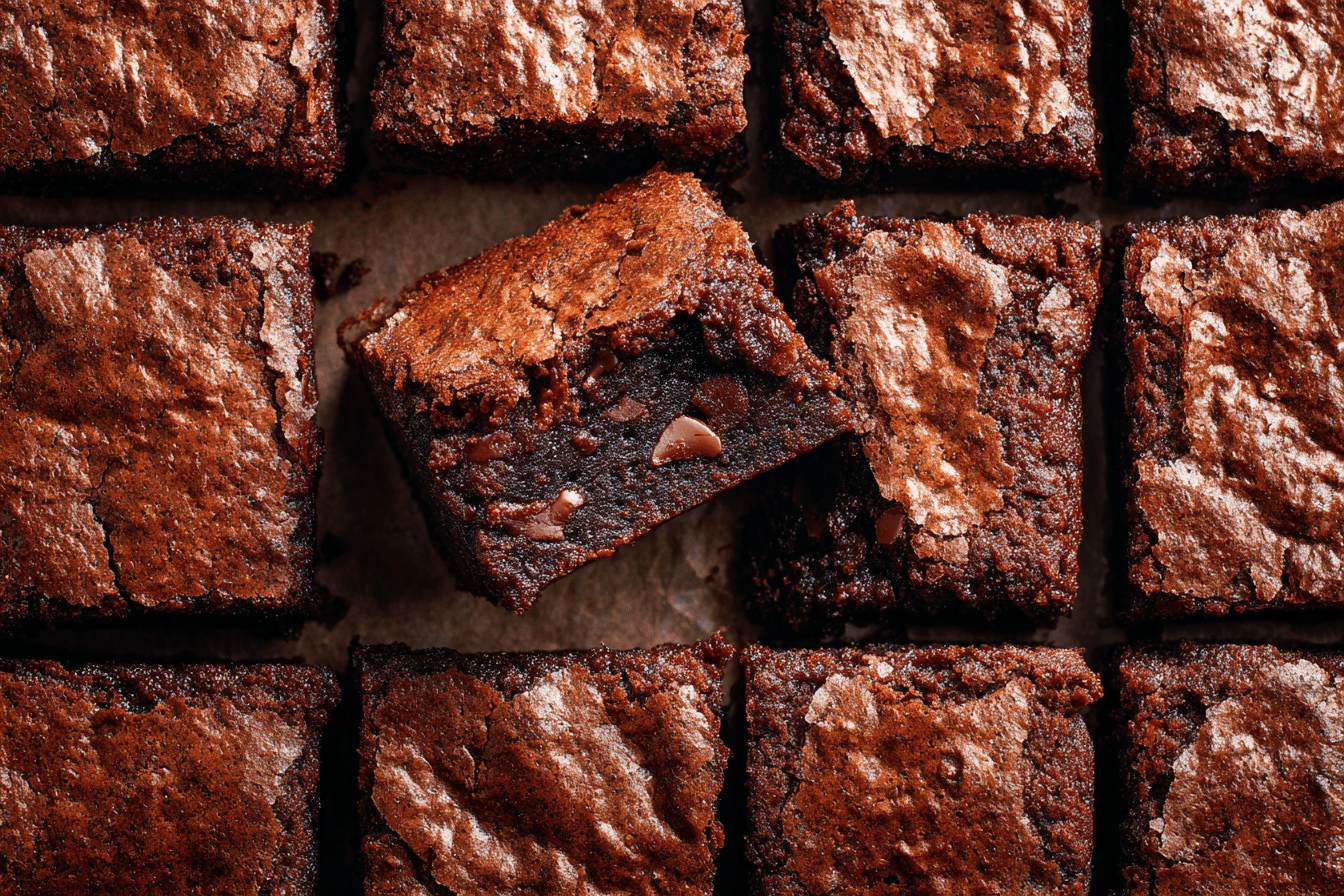
There’s nothing quite like sinking your teeth into a chewy brownie with crisp edges and a molten, fudgy center. This isn’t your average brownie recipe — it’s designed specifically for those who love that deep, chocolatey chew that stretches between bites.
Chewy brownies fall somewhere between cakey and fudgy, and they strike the perfect balance: dense, rich, but with enough structure to hold their shape. These brownies are ideal for chocolate lovers who want intense flavor with every mouthful. Inspired by bakery-style treats and homemade comfort, this recipe delivers consistent, indulgent results with everyday ingredients.
Whether you’re baking for a family movie night, holiday tray, or just your own chocolate craving, this chewy brownies recipe will become your new go-to.
Ingredients Overview
Unsalted Butter
Butter gives these brownies richness and that irresistible chew. For the best texture, melt the butter instead of creaming it — this helps develop a dense, moist interior. Always use unsalted butter so you can balance the salt content properly.
Swap: Dairy-free butter or refined coconut oil for a lactose-free version.
Granulated Sugar + Brown Sugar
A mix of white and brown sugar creates the signature chewy texture. Brown sugar adds moisture and depth thanks to its molasses content, while granulated sugar helps achieve the shiny, crackly top.
Tip: Light brown sugar is best, but dark brown can give a deeper caramel flavor.
Eggs
Eggs are crucial for structure and chewiness. Using one whole egg plus one extra egg yolk adds richness without making the brownies too cakey.
Note: Room temperature eggs blend better with the warm butter and sugar mixture.
All-Purpose Flour
Less is more when it comes to flour in chewy brownies. Too much makes them cakey; just the right amount gives body without drying them out.
Gluten-Free: Use a 1:1 baking flour blend with xanthan gum included.
Cocoa Powder
Cocoa powder brings deep chocolate flavor. Dutch-process cocoa is ideal for its smooth, rich finish, but natural cocoa works too. Always sift before adding to prevent lumps.
Cornstarch (Secret Ingredient)
Just a tablespoon of cornstarch softens the crumb and gives that melt-in-your-mouth texture while still keeping the brownie firm and chewy.
Chocolate Chunks or Chips
Semi-sweet or dark chocolate chunks scattered throughout the batter melt into gooey pockets. For contrast, reserve some to sprinkle on top before baking.
Optional: Add white chocolate chips, peanut butter chips, or chopped dark chocolate for variety.
Vanilla Extract and Salt
Vanilla adds warmth and complexity. Salt enhances all the chocolate notes and balances the sweetness.
Step-by-Step Instructions
1. Melt the Butter and Mix with Sugars
In a medium saucepan or microwave-safe bowl, melt the butter. Stir in the granulated and brown sugars while the butter is still warm, whisking until fully combined. This step is key to achieving that shiny top and chewy bite.
2. Whisk in Eggs and Vanilla
Let the mixture cool slightly, then add one whole egg and one egg yolk. Whisk vigorously — the mixture should thicken and lighten in color. Stir in vanilla extract.
Chef’s Tip: Beat the eggs thoroughly to help emulsify the fats and sugars. This improves texture and helps build chewiness.
3. Fold in Dry Ingredients
In a separate bowl, sift together the flour, cocoa powder, cornstarch, and salt. Gently fold the dry mix into the wet ingredients using a rubber spatula or wooden spoon. Avoid overmixing — stop when no dry streaks remain.
4. Add Chocolate Chunks
Stir in most of the chocolate chunks or chips, saving a handful to sprinkle on top. This ensures some chocolate stays melted and visible on the surface for that picture-perfect finish.
5. Bake
Line an 8×8-inch metal baking pan with parchment paper, leaving some overhang for easy lifting. Pour the batter in and smooth the top. Scatter remaining chocolate on top.
Bake at 325°F (165°C) for 28–32 minutes, or until the center looks set but soft. A toothpick should come out with moist crumbs, not wet batter.
6. Cool Completely Before Cutting
Let the brownies cool in the pan for 30 minutes, then lift them out and transfer to a wire rack. For clean edges, chill in the fridge for 20 minutes before slicing with a sharp knife.
Tips, Variations & Substitutions
-
Underbake Slightly: This keeps the center gooey and prevents drying.
-
Use Metal Pans: Metal conducts heat better than glass or ceramic, giving crisp edges and even baking.
-
Add Espresso Powder: Just ½ teaspoon intensifies the chocolate without making them taste like coffee.
-
Vegan Swap: Use coconut oil instead of butter and flax eggs (1 tbsp flaxseed + 3 tbsp water) in place of each egg.
-
Flavor Variations:
-
Swirl in peanut butter or Nutella before baking.
-
Add a dash of cinnamon for a Mexican-style twist.
-
Mix in crushed pretzels or toffee for salty-sweet contrast.
-
Serving Ideas & Occasions
These chewy brownies are the kind of treat that works for any setting:
-
Serve warm with vanilla ice cream for a cozy dessert.
-
Slice into mini bites for parties or dessert trays.
-
Wrap individually for lunchbox treats or edible gifts.
Pair them with:
-
A glass of cold milk or oat milk
-
A hot mug of dark roast coffee
-
Fresh raspberries or strawberries on the side
Perfect for:
-
Weeknight treats
-
Birthday platters
-
School bake sales
-
Holiday dessert spreads
Nutritional & Health Notes
While indulgent, these chewy brownies are made with simple, whole ingredients — no preservatives or additives. Each square has a balance of carbohydrates, fats, and a bit of protein from eggs.
To lighten them:
-
Use less sugar (reduce by up to ¼ cup).
-
Swap half the butter for unsweetened applesauce.
-
Cut smaller portions and store extras to prevent overindulgence.
Because they’re rich, even a small piece is satisfying. Enjoy in moderation as part of a balanced dessert rotation.
FAQs
Q1: What makes brownies chewy instead of cakey?
A higher fat-to-flour ratio, using brown sugar, and adding an extra egg yolk contribute to chewiness. Avoid overmixing and don’t overbake.
Q2: Can I double the recipe?
Yes. For a 9×13-inch pan, double all ingredients and bake for 35–40 minutes at 325°F. Watch for doneness in the center.
Q3: Can I make these brownies gluten-free?
Absolutely. Use a 1:1 gluten-free flour blend with xanthan gum. Don’t skip the cornstarch, as it helps mimic the chewy texture.
Q4: How should I store chewy brownies?
Keep them in an airtight container at room temperature for 3–4 days. For longer storage, refrigerate up to a week or freeze up to 2 months.
Q5: What’s the best way to get clean cuts?
Cool completely, chill in the fridge, and use a sharp knife dipped in warm water. Wipe the blade clean between cuts.
Q6: Can I use all brown sugar?
Yes, but the top may not be as shiny. Mixing white and brown sugars gives the best flavor and texture combination.
Q7: Why are my brownies dry?
Overbaking is the most common cause. Pull them when the center is just barely set and the edges are firm.
PrintSimple Brownie Recipe With Just 3 Ingredients
These chewy brownies are dense, rich, and gooey with crisp edges and a shiny, crackly top. Perfect for chocolate lovers who crave texture and flavor in every bite.
- Prep Time: 10 minutes
- Cook Time: 30 minutes
- Total Time: 40 minutes
- Yield: 9–12 brownies 1x
Ingredients
-
½ cup (1 stick) unsalted butter, melted
-
¾ cup granulated sugar
-
¼ cup brown sugar, packed
-
1 large egg + 1 egg yolk, room temperature
-
1 tsp vanilla extract
-
⅓ cup unsweetened cocoa powder
-
½ cup all-purpose flour
-
1 tbsp cornstarch
-
¼ tsp salt
-
½ cup semi-sweet chocolate chunks or chips (plus more for topping)
Instructions
-
Preheat oven to 325°F (165°C). Line an 8×8-inch metal pan with parchment paper.
-
In a saucepan, melt butter. Stir in both sugars while warm until smooth.
-
Add egg, yolk, and vanilla. Whisk until thick and glossy.
-
Sift in flour, cocoa powder, cornstarch, and salt. Fold gently to combine.
-
Stir in most chocolate chunks. Pour into pan and smooth the top.
-
Sprinkle remaining chocolate over the top.
-
Bake 28–32 minutes until center is just set. A toothpick should have moist crumbs.
-
Cool completely before slicing.
Notes
-
For clean cuts, chill before slicing.
-
Add espresso powder for deeper chocolate flavor.
-
Store at room temp or freeze individually.